Use the steps described on this page to Upload a Program Level Document or an Enterprise Level Document so that it can be finalized and associated with studies. See Program and Enterprise Documents for an overview of how these types of documents work in the eTMF.
Each Enterprise Level Document and Program Level Document must first be uploaded independent of a study and finalized before it can be associated with specific study items.
NOTE: Not all users can upload Program or Enterprise documents. Permissions depend on your eTMF configuration.
- Upload one or more documents using the Upload Document(s) button in your Work Area.

- On the Upload to Work Area screen, click Add Files and select one or more files from your local network. Do NOT assign a study, country or site value on the Upload to Work Area screen.
- Click Upload. The files are uploaded to your Work Area.
- Select the hyperlink for one of the uploaded files in your Work Area to open the Details view.
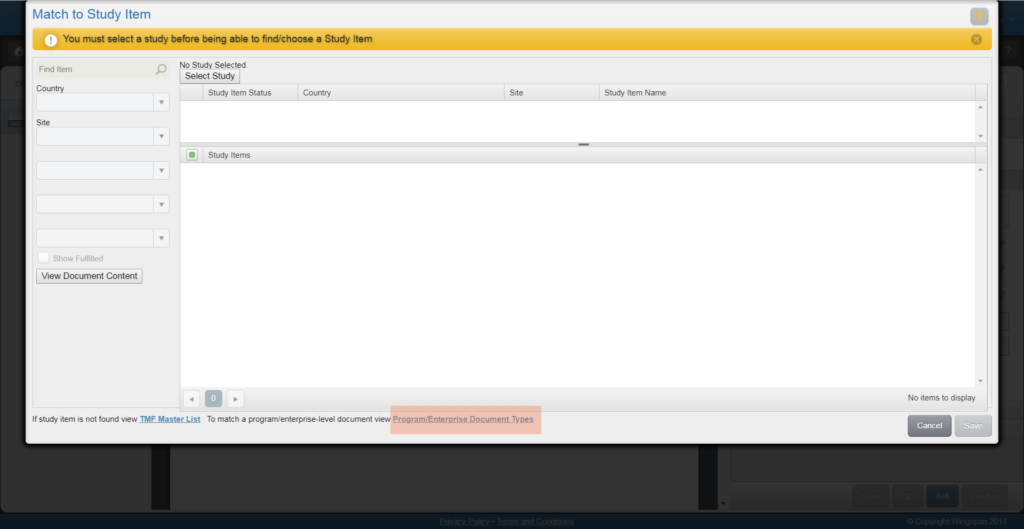
- Click Edit in the Index area of the Workspace panel. The Match to Study Item screen appears.
- Click the Program/Enterprise Document Types link at the bottom of the screen.
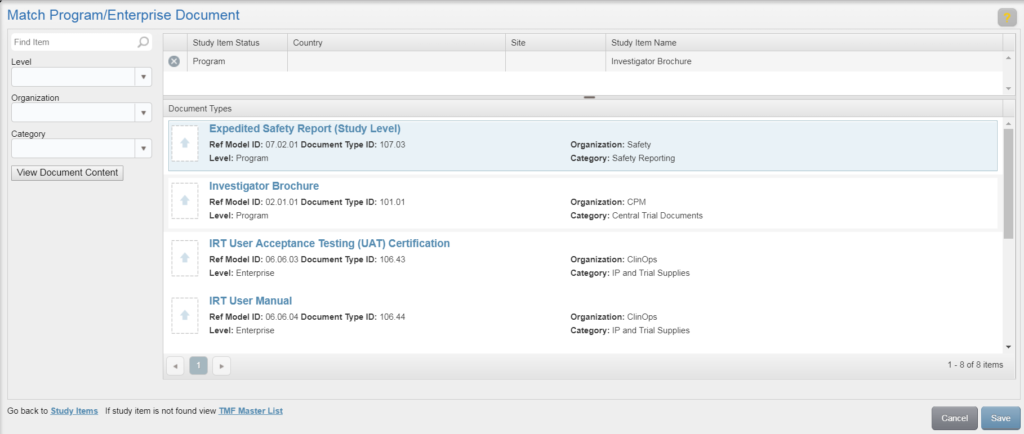
- Use the Search field and/or Level, Organization, or Category fields to locate the correct document type. Select the document type from the list and click Save.
- On the New Program/Enterprise Document screen, complete any required fields (i.e., those outlined in red).
- Click Save to return to the Match Program/Enterprise Document screen. The program/enterprise level study item is listed at the top.
- Click Save on the Match Program/Enterprise Document screen. You are returned to the Details view for the study item.
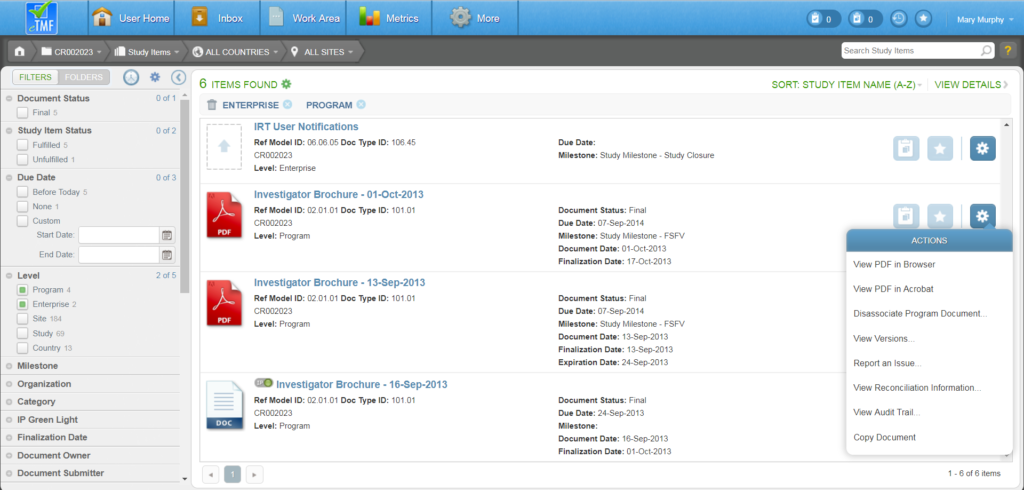
- Proceed as normal with indexing and submit to QC. Once the document has been finalized, it can be associated with study items in individual studies.