Uploading One or More Documents to Work Area
You can upload one or more documents at once by using the Upload Documents button in your Work Area. When using this operation, the documents will need to be indexed to study items as part of a separate action.
When you click the Upload Document(s) button, the Upload to Work Area screen is displayed, as shown below.
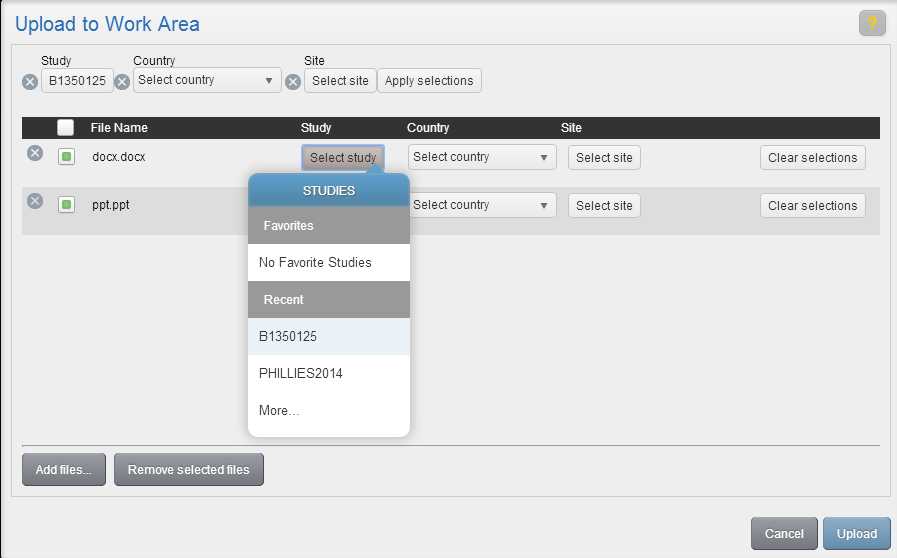
Click the Add Files button to browse to and select the files you want to upload. The selected files will be added to the list on the Upload to Work Area screen. To remove files from this list, click the x next to an individual file or select the check box for multiple files and click Remove selected files.
You can choose to upload all documents within a specific Study, Country, or Site by selecting the corresponding values at the top of the screen. Any Study, Country, or Site values specified will be retained if the Add files button is selected again. You can also specify a study, country or site for an individual file by using the corresponding fields within the file list. Any settings specified for an individual file override settings specified for the list as a whole.
Or, you can upload without choosing study, country, or site values, if those values are not known.
When finished, click the Upload button. The documents will now appear in the your Work Area.