How to Filter Items
The Narrow Choices panel, located on the left side many list-based screens and dashboards, allows you to find items based on specific values/qualities.
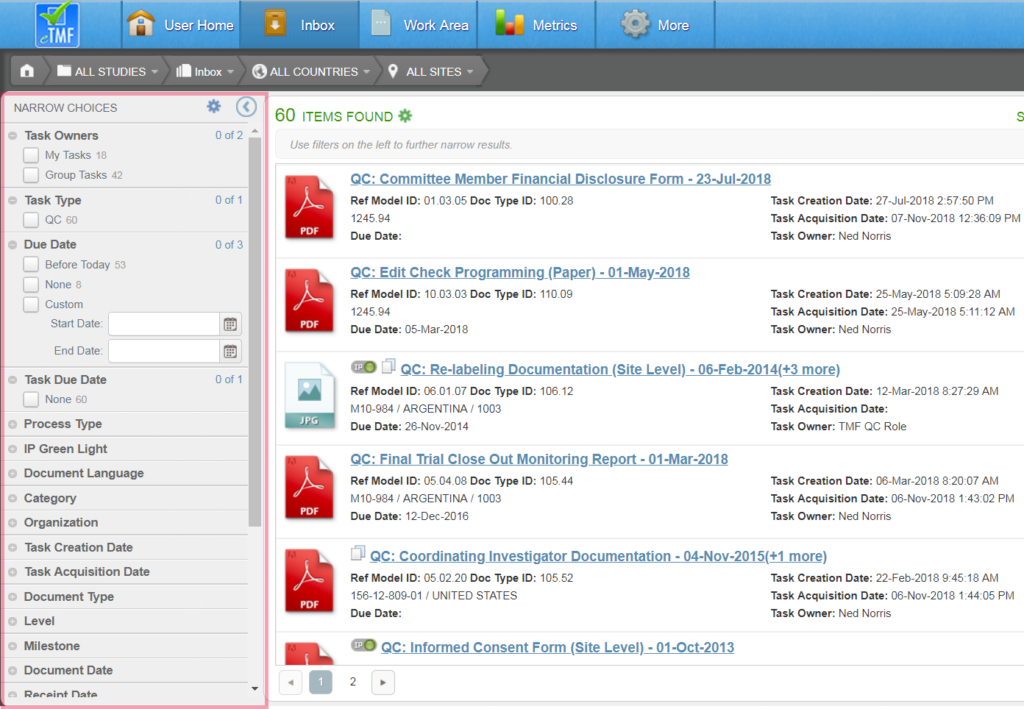
Values in the Narrow Choices panel are organized by category. The categories and values displayed depend on the view being accessed. For example, the Narrow Choices panel in the Inbox view contains a category for Task Due Date that is not relevant or available in the Narrow Choices panel in other views. The number next to each value in the Narrow Choices panel indicates the number of items in the list to which that value applies.
If a category contains more than five values, a View All link is shown underneath the fifth value in the category. Clicking this link either displays the rest of the values or opens a separate window from which you can view all possible values in the category.
If you want to hide the Narrow Choices panel to get a larger view of the items list, click the Show/Hide Filters button at the top right of the panel (i.e., the arrow enclosed by a circle).
Define a Filter
To filter down the displayed items, expand a category and select the check box next to a value in the Narrow Choices panel. This will add a filter value above the list in the Filter Summary bar and will automatically update the list to include only those that apply. You can select as many check boxes as you like to apply multiple filter values. When multiple check boxes are selected, only items that meet all criteria are displayed.
To remove a single value from a filter, either deselect the box next to the value in the Narrow Choices panel or select the X next to the value in the Filter Summary bar. All filter values can be cleared by clicking the trash can icon in the Filter Summary bar or by clicking the Actions menu icon at the top of the Narrow Choices panel and selecting “Clear Filters.”
Saving a Filter
You can save a filter that you commonly use so that you can easily apply the criteria later. Click the link to learn more.